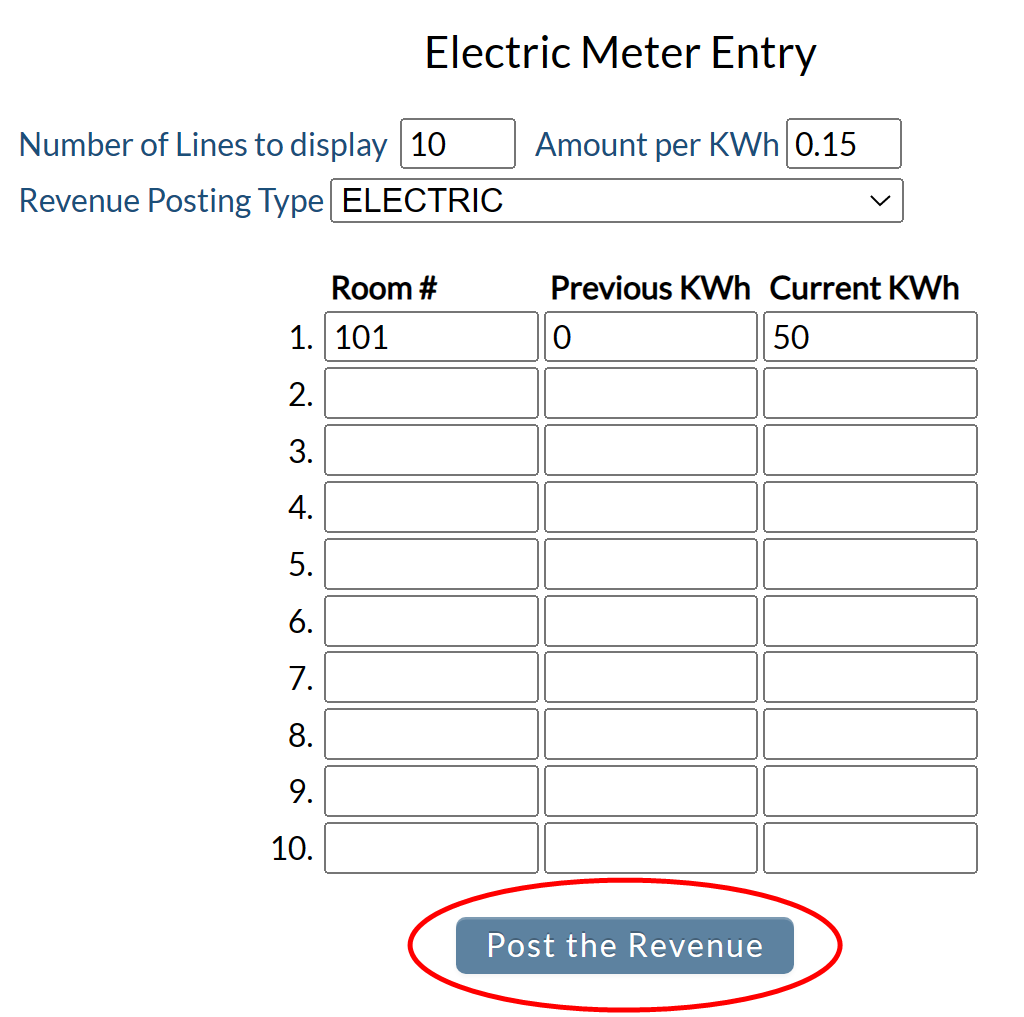
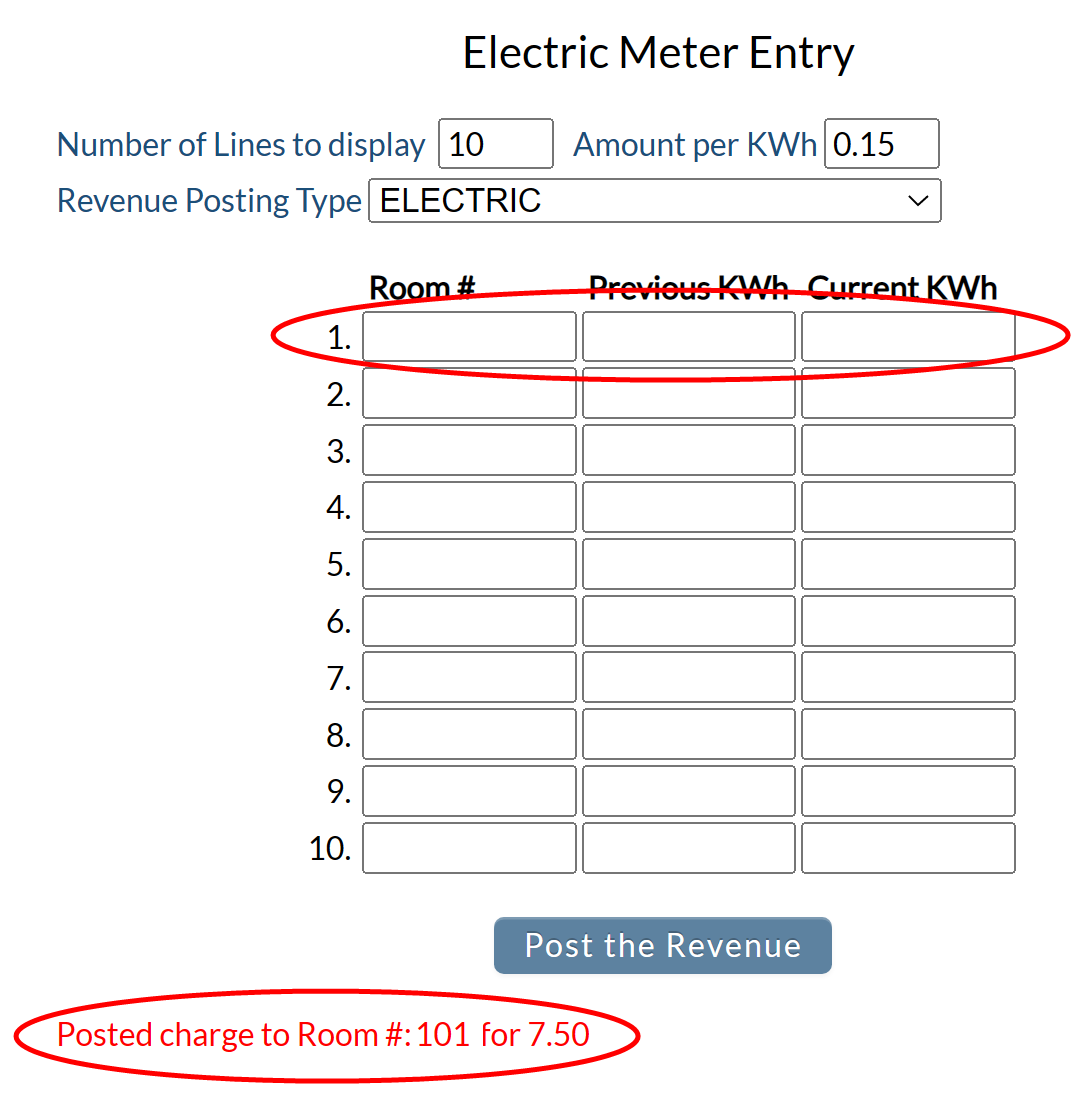
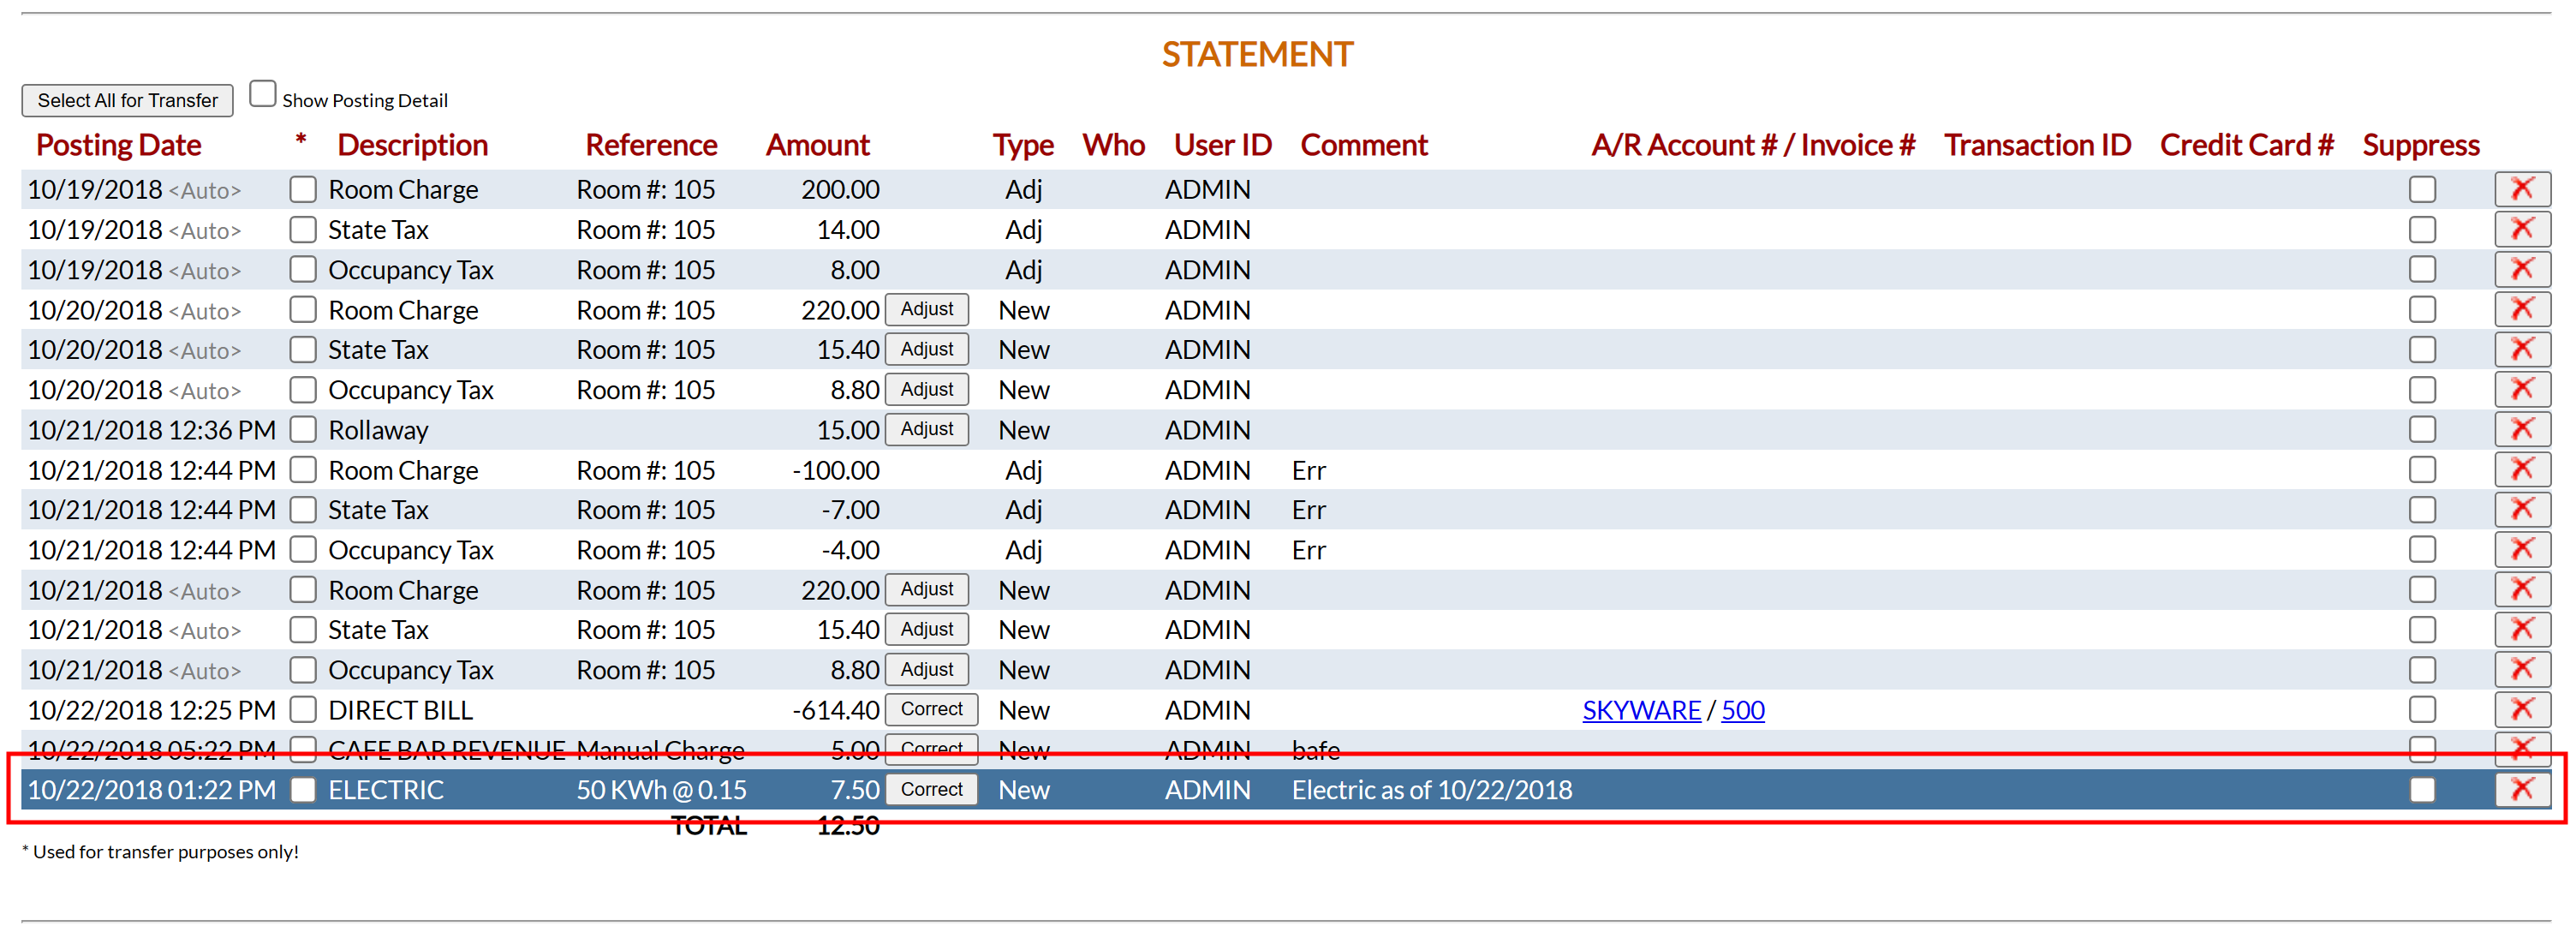
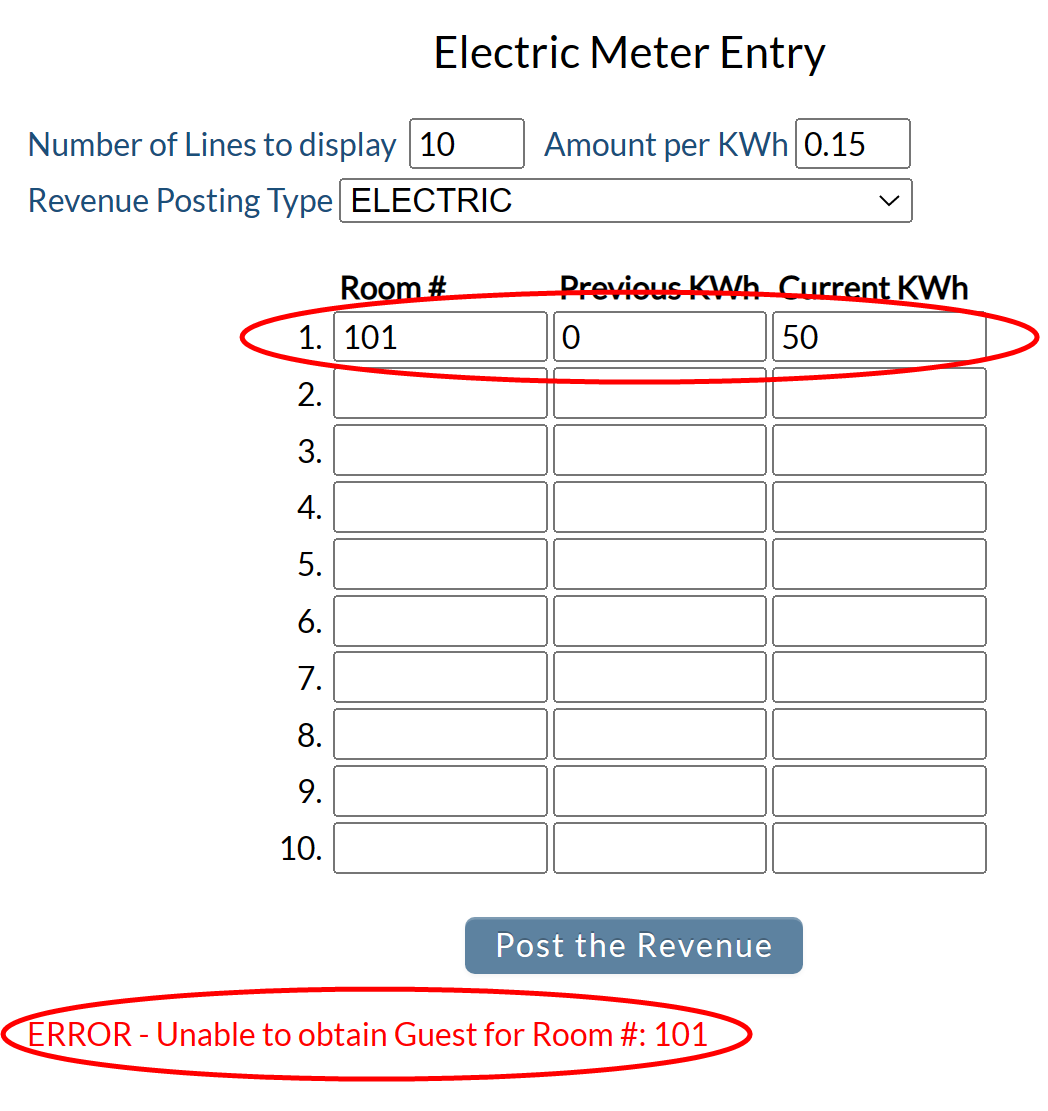
To allow the charging for electrical usage to take place, you will need to create a posting type for use as the default electric posting type. This is done via the Post Type Maintenance screen, where you will create the posting type, select it as the default electric posting type, and enter the desired amount to be charged per Kwh.
Click the icon on the left for the Full Menu.
This will display the Full menu in a tabular form, with four sections, Registration, Status, Cashier and Other.
Select Other => from the Other section. This will display the Other Front Desk Tasks Menu, which has four sections, Other List 1, Other List 2, Documents and Web.
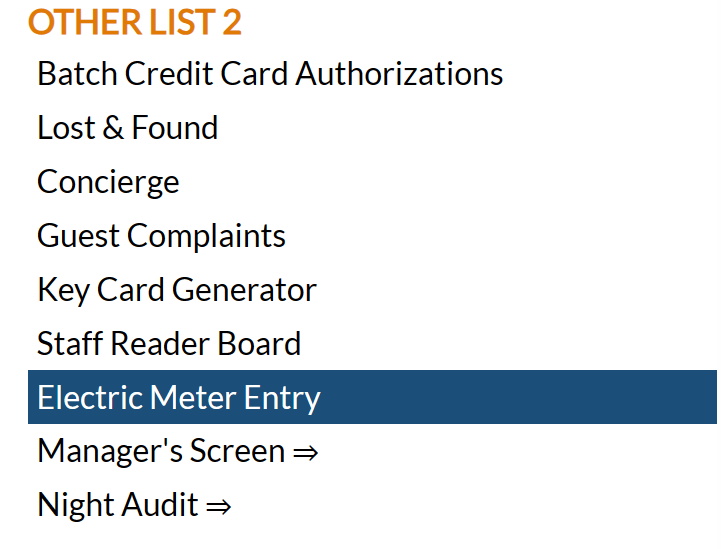
Select Managers Screen => from the Other List 2 section. This will display the Managers Commands screen. The Managers Commands screen has two sections, Managers Configuration and Managers Configuration.
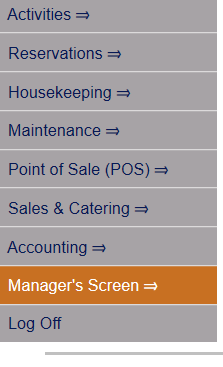
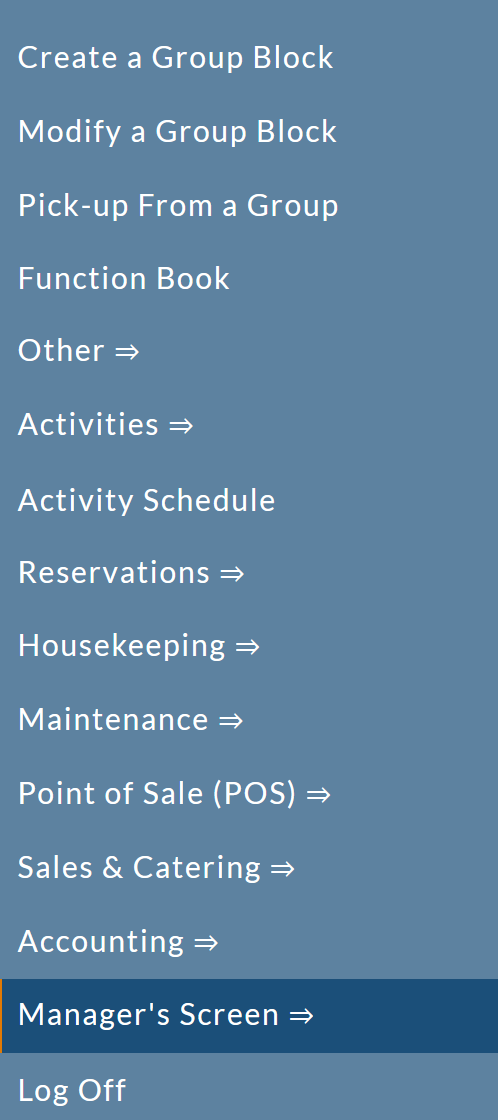
OR: Select Manager's Screen => from the Quick Menu on the left side of the screen, to be taken directly to the Managers Commands menu.
The Manager's Command screen menu has two sections, Manager's Configuration and Manager's Maintenance.
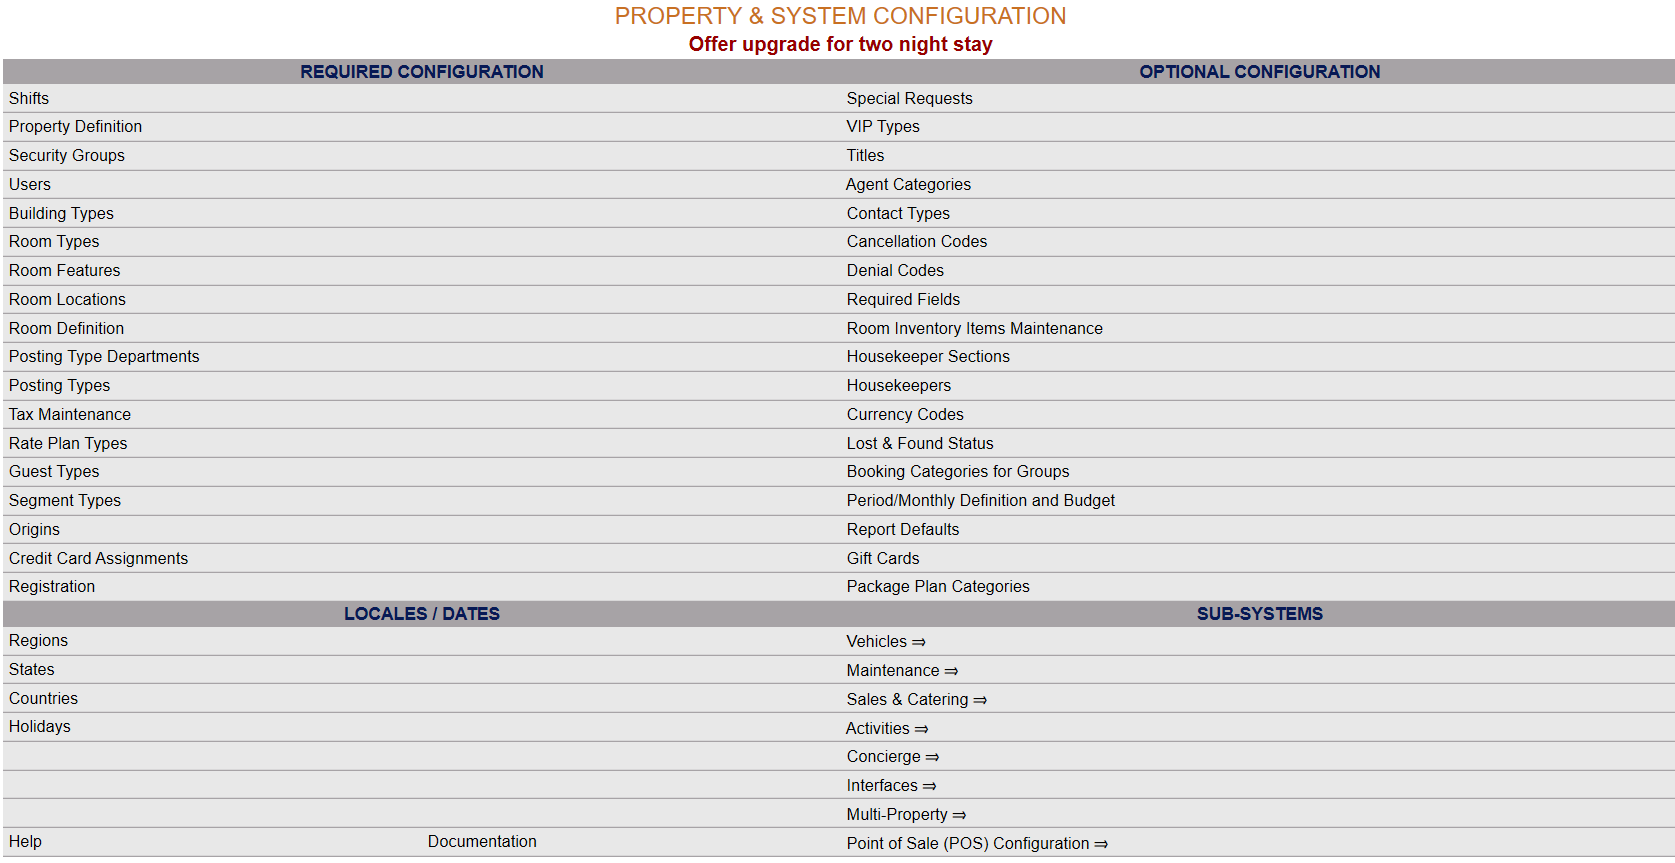
Select Configuration => from the Managers Configuration section to be taken to the Property and System Configuration screen. The list of property configuration options are divided into four sections, which are Required Configuration, Optional Configuration, Locales/Dates and Sub-Systems.
(Alternately, you may also be able to select Configuration => directly from the Quick Menu, if the menu has been set up to include the Configuration option).
Select Posting Types from the Required Configuration section.
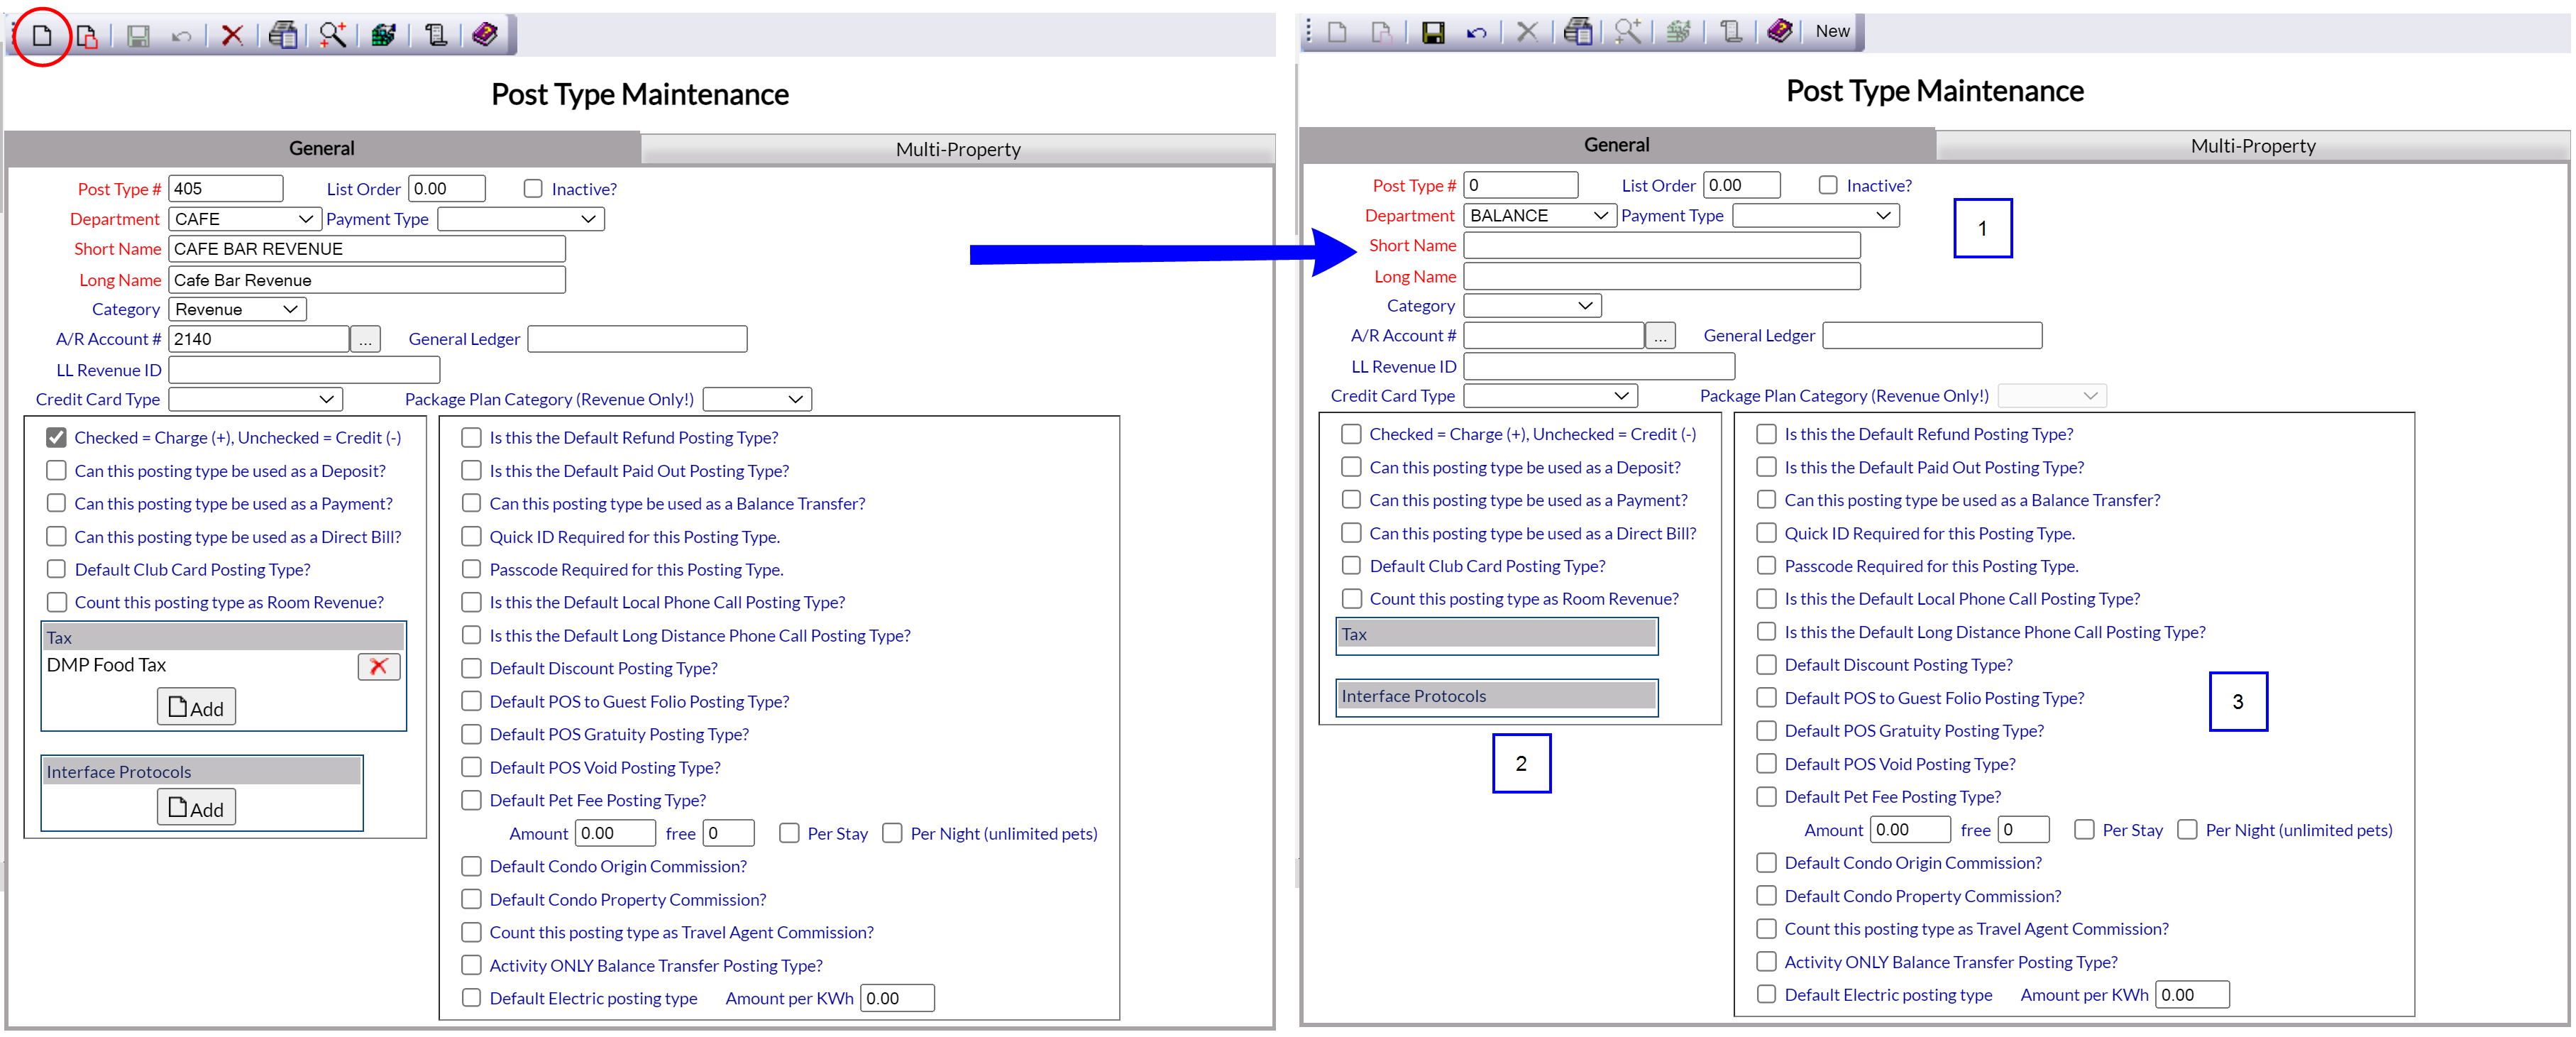
The Post Type Maintenance screen display is split into two frames, with the left side of the screen listing the Post Types already defined and the right side containing the fields you need to complete in order to add or edit the configuration for a Post Type. Any changes made on the right, once saved, will be updated in the listings to the left.
By Default, the General tab will be open when you arrive at the Post Types Maintenance screen. The large majority of the required information is located on this tab, in three sections. If you are a multi-Property user of Skyware Systems, there will be another tab available, the Multi-Property tab.
Note: For the purposes of creating an electric charge posting type, if you are a multi-property user, you should enable the "This posting type is available to all properties?" option to allow the posting type to be used everywhere.
Note: If needed, more details on generating a posting type may be seen on the Posting Types (Posting Codes) Help Topic.
Click the New ![]() button from the toolbar to add a new Posting Type.
button from the toolbar to add a new Posting Type.
When generating a posting type such as the electric charge posting type, required fields are shown in RED.
Fields important for generating the electric charge posting type:
Post Type #: This is the number assigned to the Posting Type.
List Order: This is the order the Posting Types will be displayed in the interface. (This option is not required, but may help in finding the electric charge posting type on the screen subsequently).
Inactive?: This box may be checked or unchecked. By default it is unchecked. When creating the electric charge posting type, it should remain so.
It should only be checked if the Posting Type is no longer in use.
Department: This is a drop-down menu of available Posting Type Departments, as defined by your property. Select one.
If the Department you require is not available, you may edit your configuration, see Posting Type Departments for more information.
Payment Type: Payment type of Posting (required for Deposit or Payment). This is not required for the electric charge posting type, unless your property specifies how the charges for electricity are to be paid (for example you may choose cash only).
Short Name: This is the Posting Type Short Name, and this is how the Posting Type will appear on the guest’s folio. Enter the name you wish the electric charge posting type to be known by (for example, ELECTRIC).
Long Name: This is the long name of the Posting Type, and is a more detailed description of the Posting Type. This form appears on some reports. (For example, electric charge in KWh).
Category: This is a drop-down menu of available Categories for the Posting Type. Select one. It is suggested that you select the option "Revenue".
Further options in this section of the Posting Type Maintenance screen are probably not relevant to the electric charge posting type. However, if in the Payment Type option you have selected credit card for this posting type, you must use the drop-down menu for the Credit Card Type to select a type from the options available .
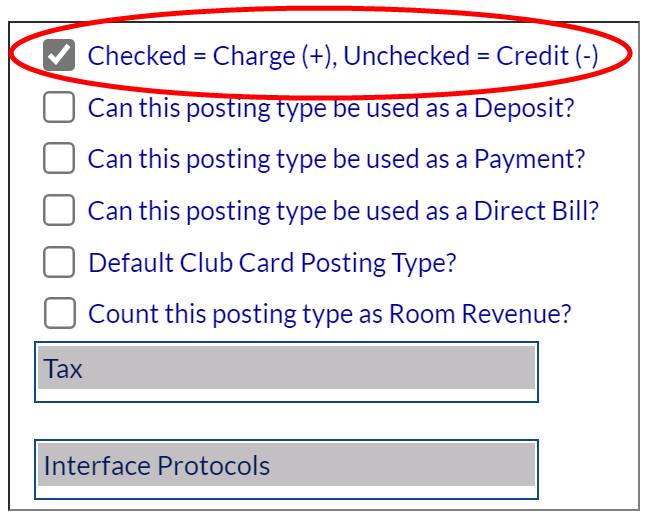
This boxed section contains various questions that help define how your Posting Type is used.
For the electric charge posting type, the first option, Checked = Charge (+), Unchecked = Credit (-) should be selected. (This box may be checked or unchecked. By default it is unchecked. You should check it).
You can also add any Posting Type Taxes in this section. Once attached, tax will automatically post in addition to the charge of the post type.
Note: This option is ONLY available AFTER the posting type has been saved. Prior to the posting type being saved for the first time, the "Add" button will not be shown.
Click on the "Add" button to be taken to the Posting Type Taxes screen where you can select from the available tax types to add to the posting type.
This boxed section contains various questions that help define your posting types, and set up the default posting type for many situations. (You should have a posting type for each default to allow the charges to be posted correctly). When generating the electric charge posting type, it should be selected as the Default Electric posting type. You should also enter the amount that will be charged per KWh of electricity used in the Amount per KWh field.
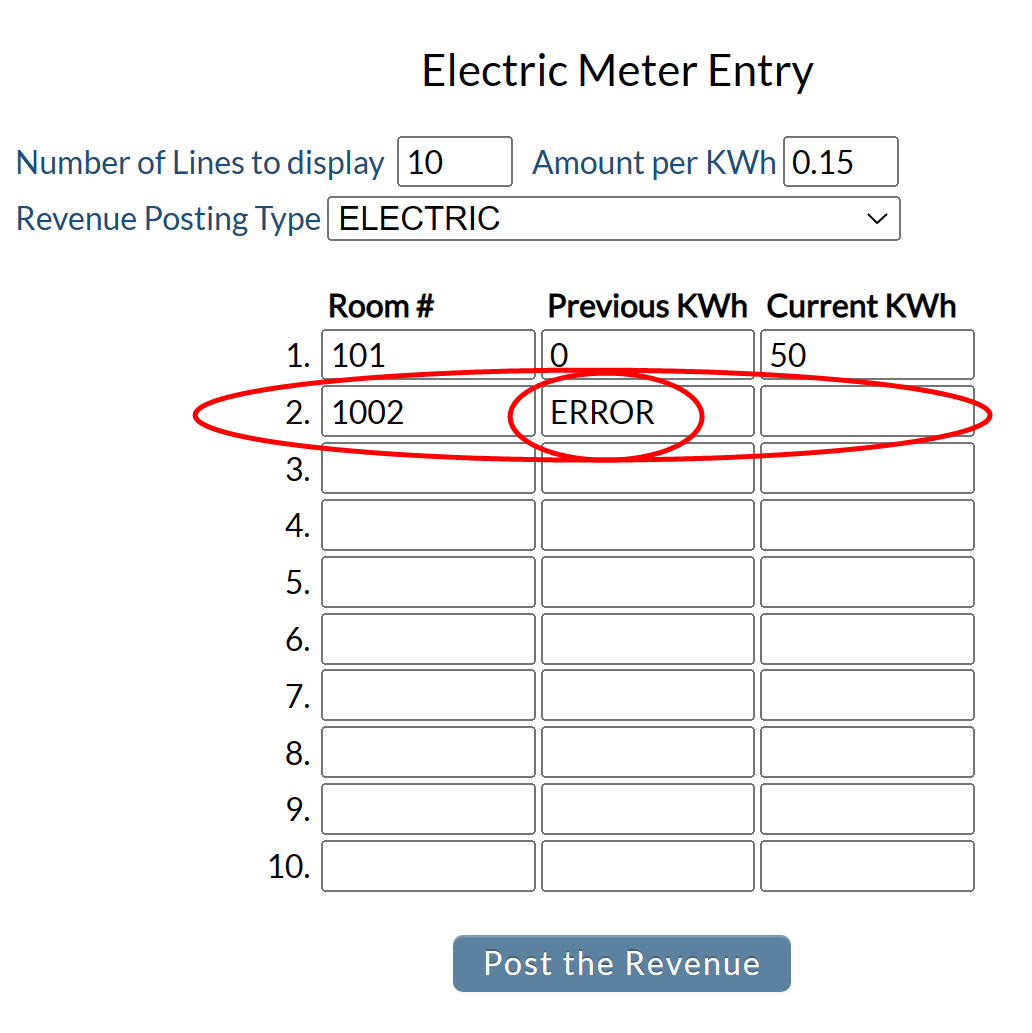
Note: By default, the Amount per KWh field is set at 0.00. This must be changed otherwise any electrical charges calculated will always be 0. This number will be displayed on and used in the Electric Meter Entry screen, where the calculations for electric usage charges are performed and posted. (It may also be changed on the Electric Meter Entry screen; doing so will override the number set here and update it automatically, meaning you do not have to change it in both places).


